Check out our promo video here!
Product description
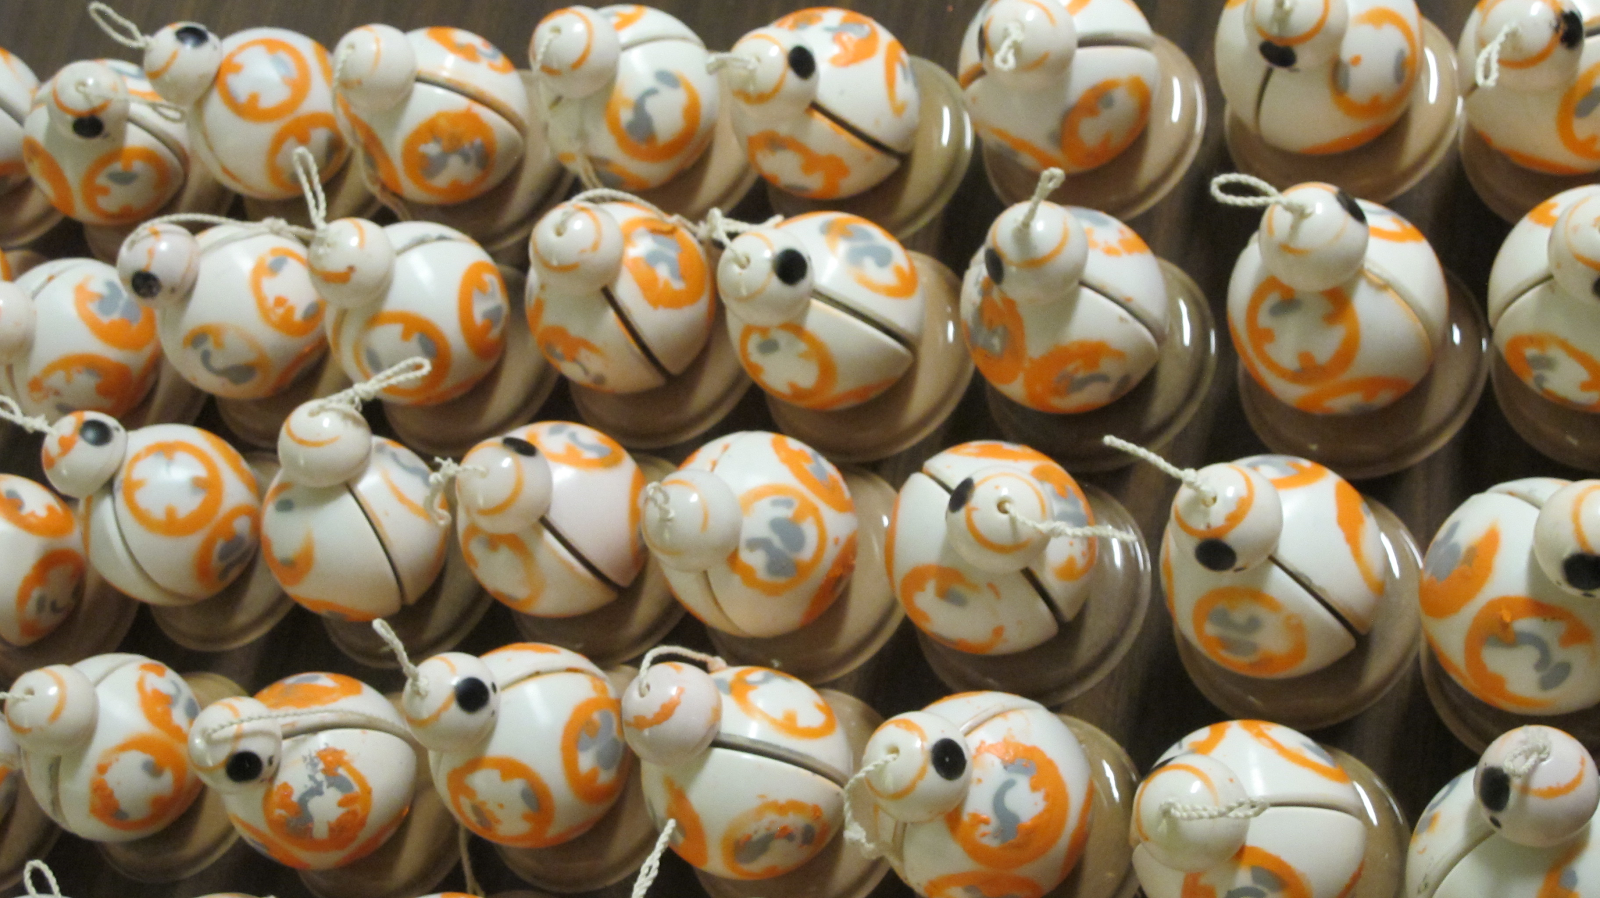
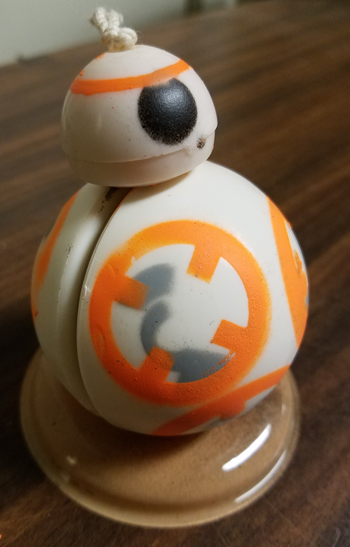
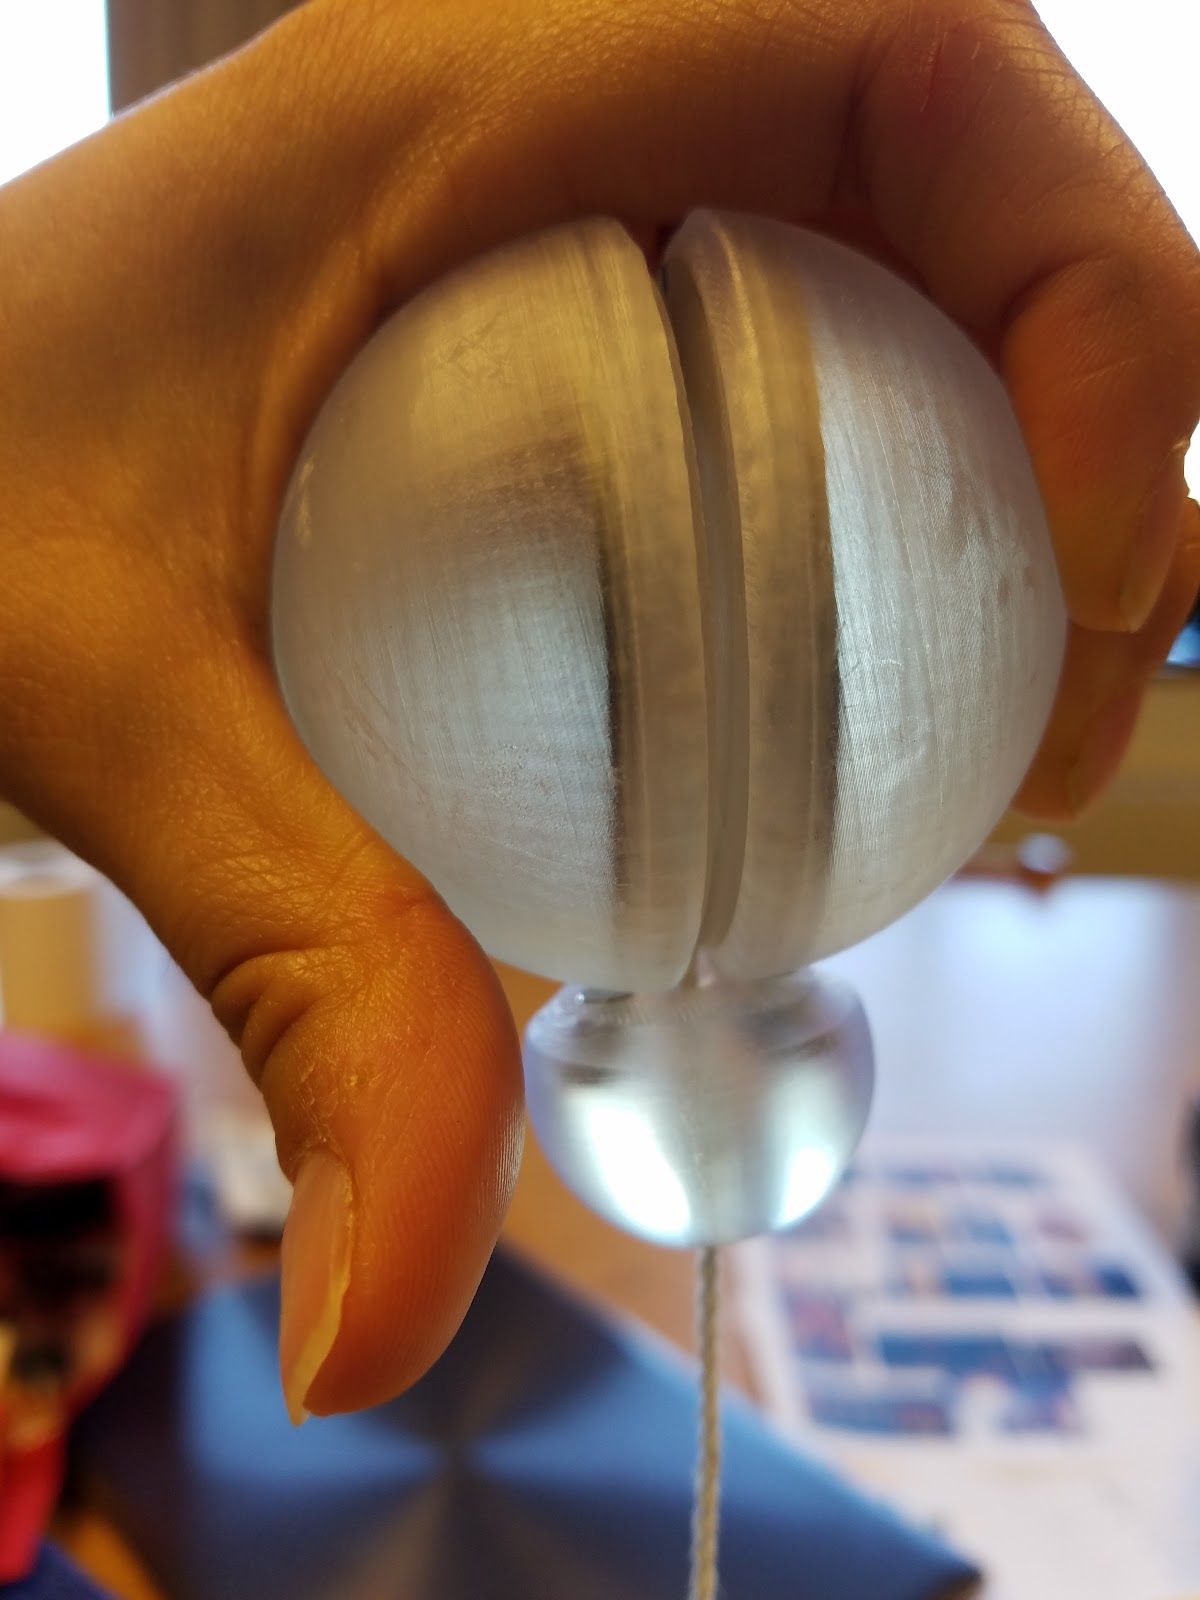
The final assembled BB-8 yoyos
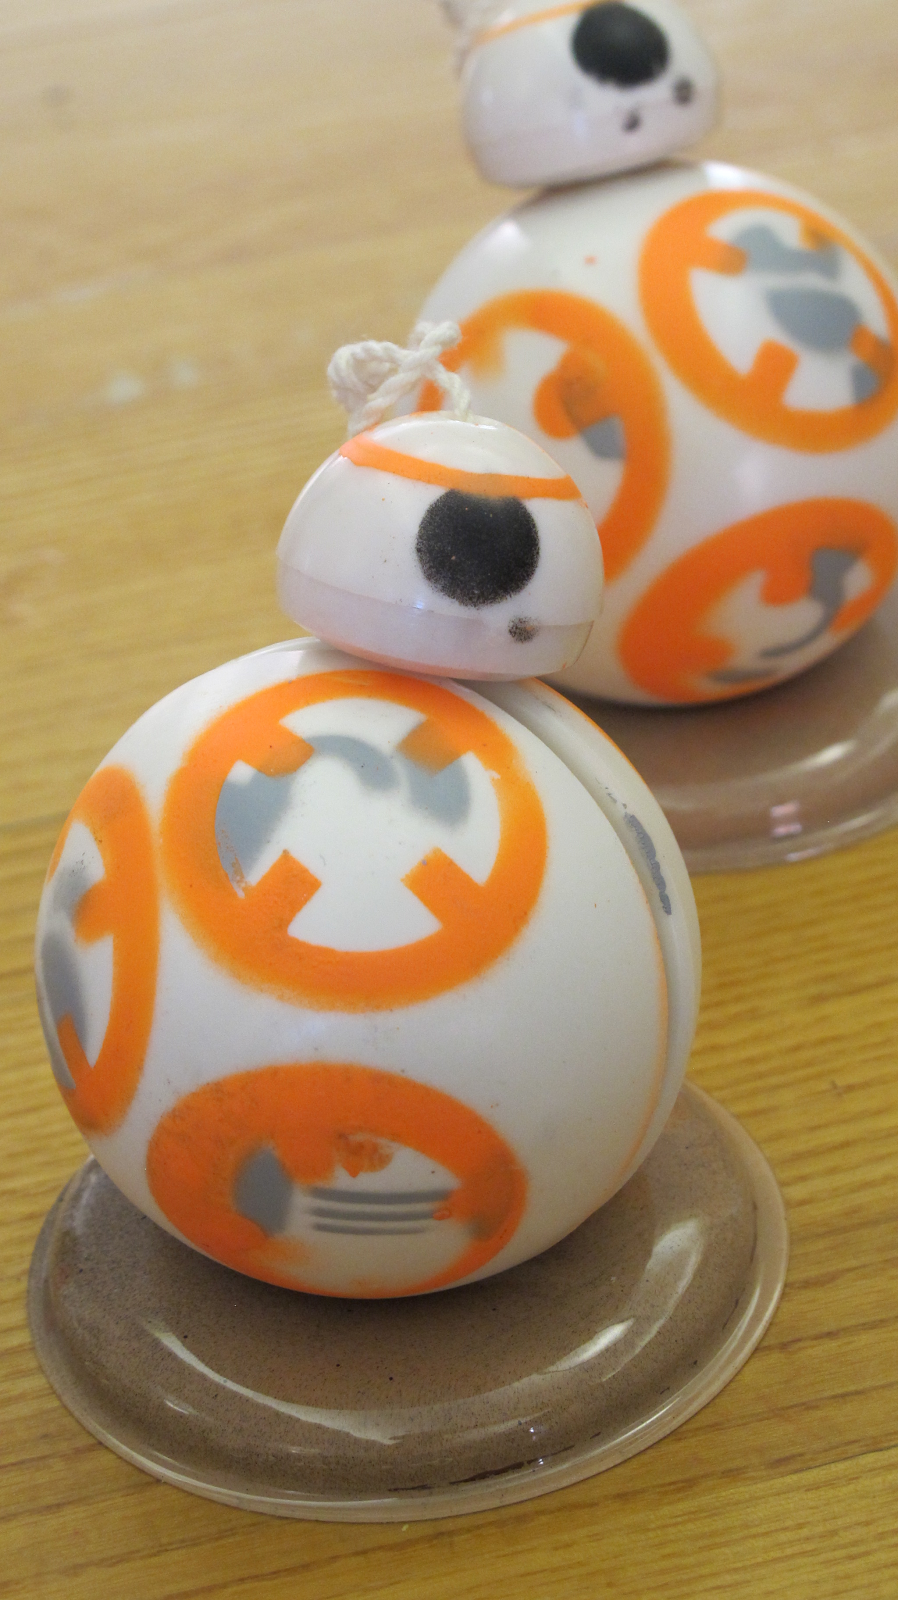
Our yo-yo is based on the robot character, BB-8, from the movie Star Wars: The Force Awakens. In the movie, the character’s spherical body rotates to move, while the head remains atop the sphere. This unique quirk inspired us to design a yo-yo with a free spinning body and a head that independently hovers above, magnetically attracted to the body.

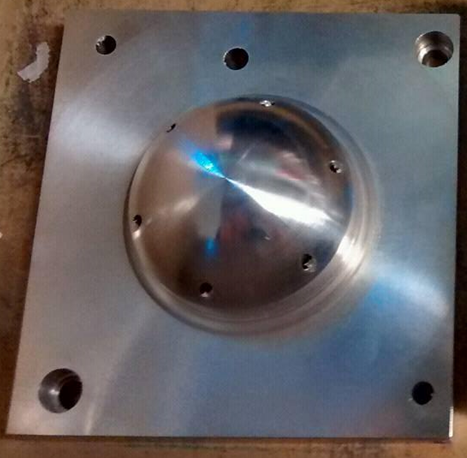
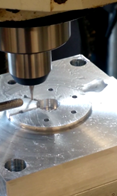
A section view of the CAD of the final assembled yoyo, the core mold of the body part, the core of the inner face mold being milled.
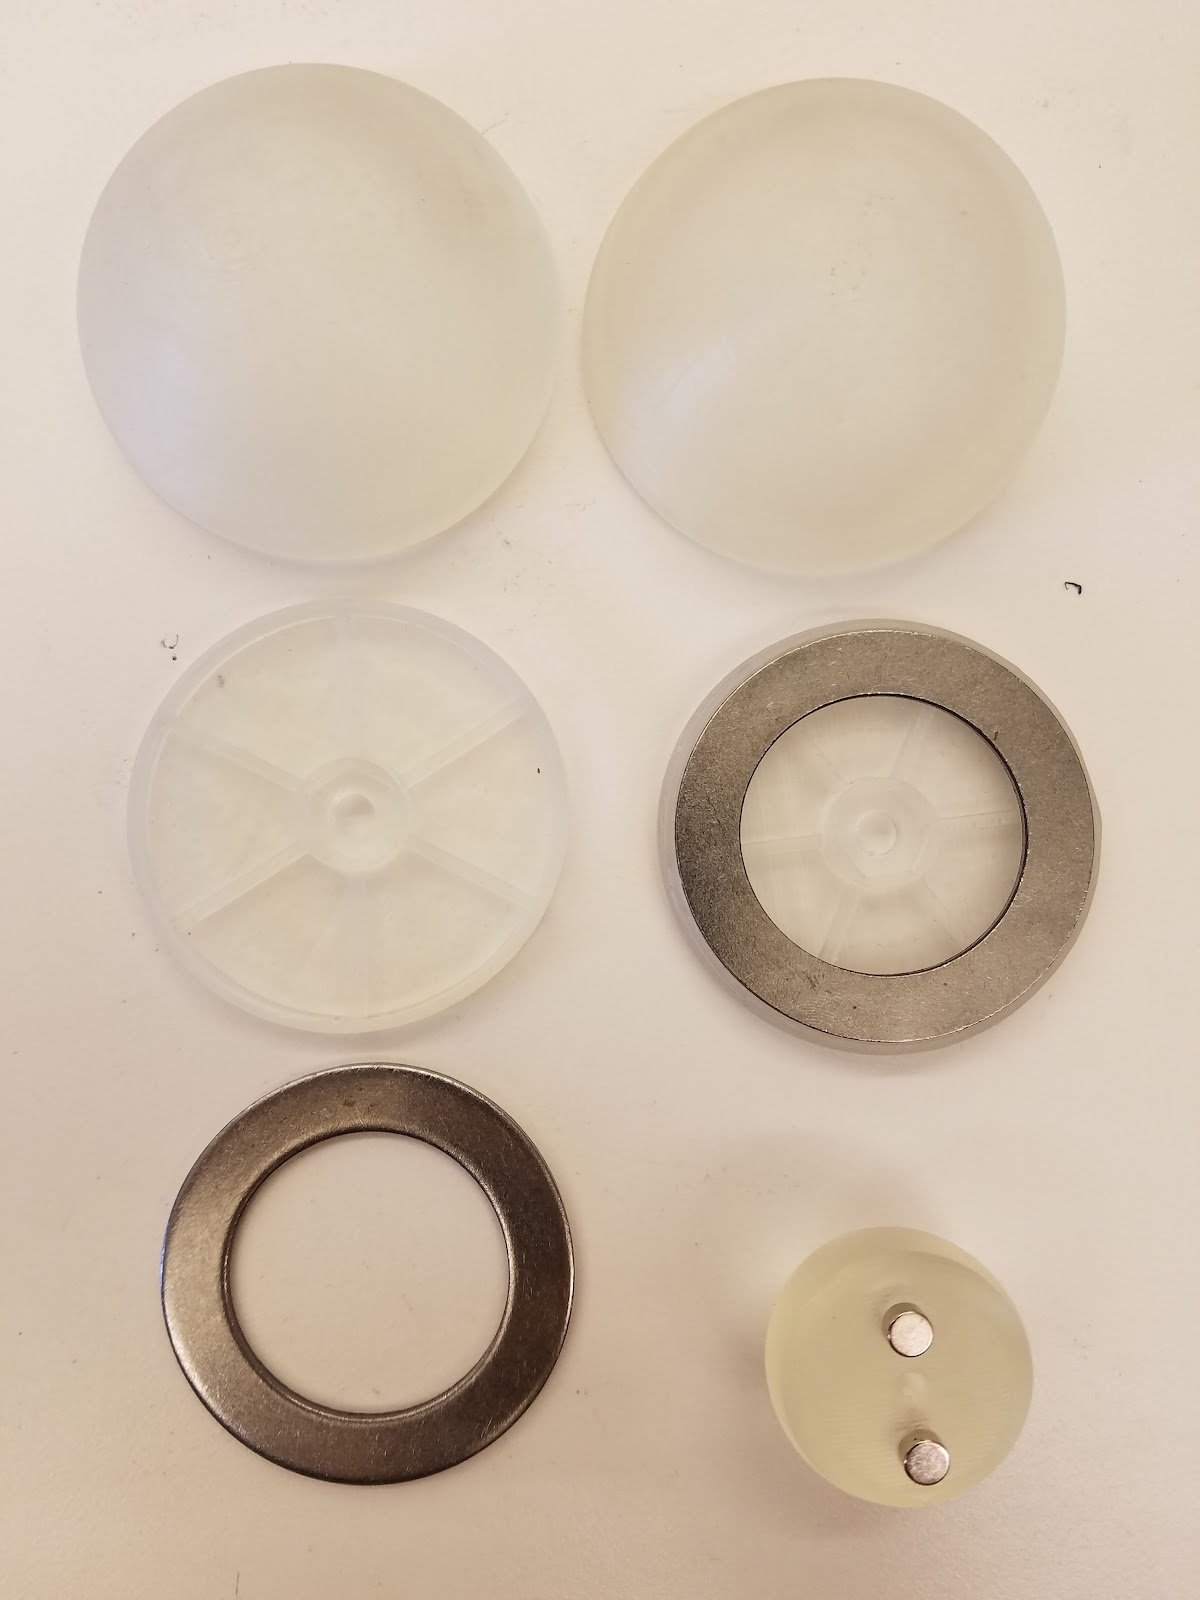
The body is divided into two hollow hemispheres, each with a dome part and a press fit inner face that keeps the string aligned. In the final design, the dome part is 100% plastic, and it’s filleted around the edges for comfort. Each inner face piece has an insert molded nut for the shaft, and an insert molded steel shim, for increased inertia and magnetic attraction. There are also radial ribs to increase part stiffness. The dome and inner face are securely press fit together.
The head is a smaller, solid hemisphere with a filleted hole through the center. The string is threaded through the head and wound in the gap between the two body pieces. To keep the head close to the body while the yo-yo is spinning, press fit a ring magnet into the head, such that the head stays nearby the body while yoyo-ing.
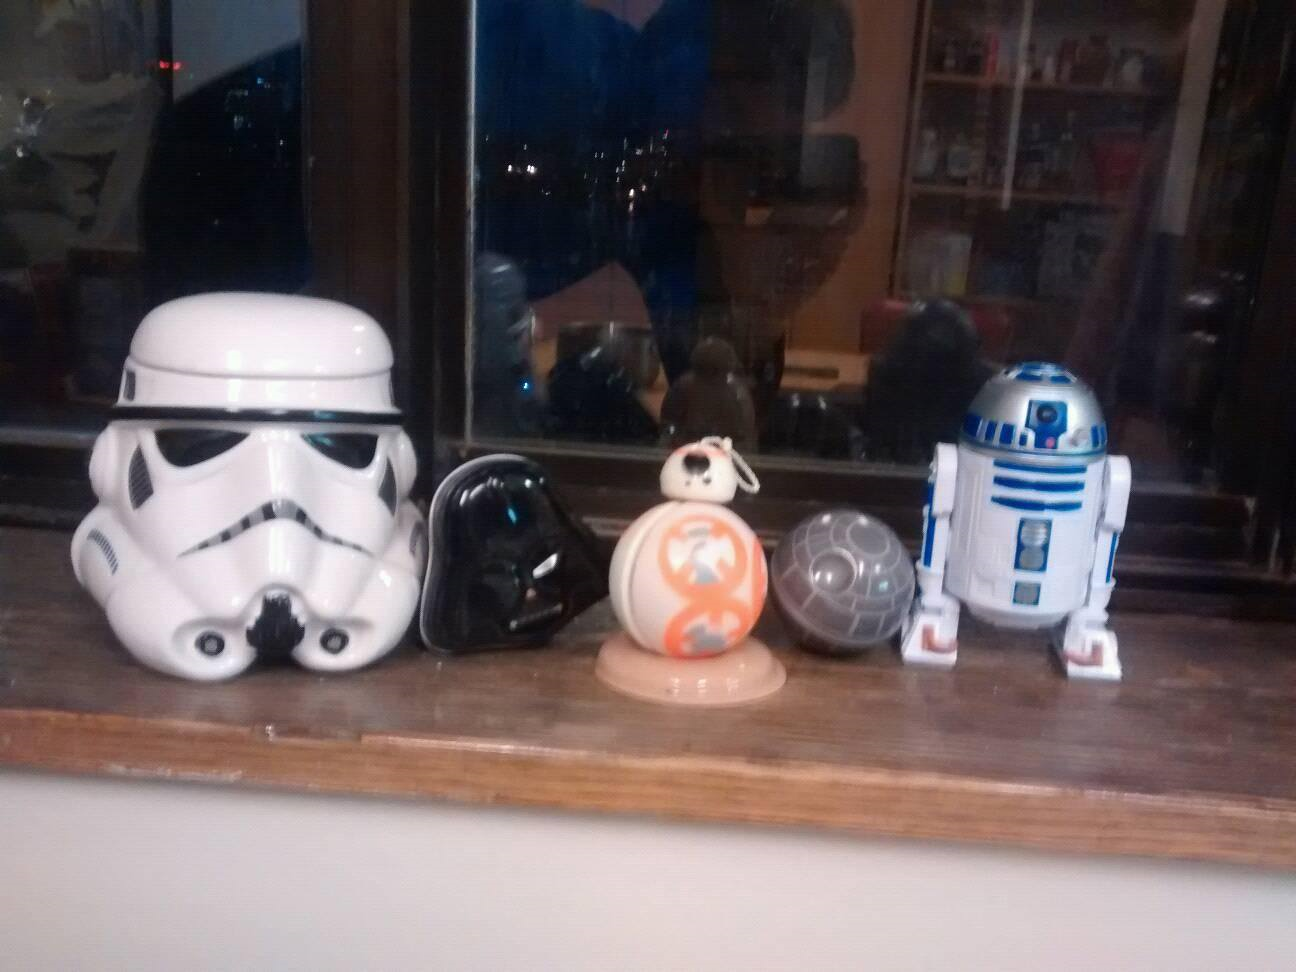
BB-8 & Similar-Sized Friends
Finally, BB-8 is most famous for his appearance on the sand-covered Jakku, so the yoyo comes with a contoured sand dune base to stand on when it’s not being used! The sand dune base has a small divot, perfectly shaped to hold BB-8 in place until you’re ready to yoyo. And, the sand base is painted with a speckled sandy color to look realistic.
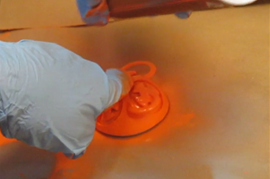

The orange decal being spray painted through a 3D printed stencil onto a body half.
Of course, the most recognizable aspect of BB-8 is the orange and grey markings on his white body. To make these markings, we used orange, grey and black spray paint. 3-D printed stencils allowed us to outline the patterns without complex machining; we used one stencil for each color.
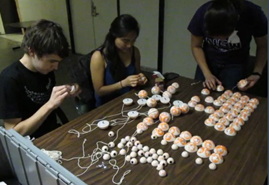
Final yoyo assembly line and the finished product.
To be sure, the unique head on this yoyo makes it particularly challenging to successfully yoyo. We tied a grippier knot on the shafts to prevent the yoyo from sleeping, which helps the user to yoyo with the extra mass of a head, but it’s still a challenge. We recommend starting with a slow and exaggerated motion; let it fall down slowly, and at the perigee, give it a slow and sustained pull upwards.
Our project came with many successes as well as opportunities for potential improvement. All of the pieces fit together really well, yet securely. Additionally, our magnet concept works wonderfully, such that BB-8’s head consistently travels with the body while the yo-yo is being used.
Our primary opportunity for improvement would be the painting process. Spray painting over stencils was inexpensive and quick, but the paint was not always even, and the stencils regularly clogged up during the process. So in the future, we would recommend making multiple copies of the stencils to reduce clogging, or using a more robust printing setup.
The proof-of-concept yoyo with magnets, made with a Form 2. This yoyo was very similar to the final yoyo, but obviously it’s clear and unpainted. Additionally, the magnets were smaller, and the shim had to be press fit in, because 3D printers cannot embed steel within parts. But generally this prototype was an enormously valuable proof-of-concept for the final yoyo design.
Table of specifications
Part
|
Critical dimension
|
Original design specification (in)
|
Revised design specification (in)
|
Critical dimension as measured (in)
|
Head
|
Inner Diameter
|
0.150 (+ .005)
|
0.150 (+ .005)
|
.1535 (±.0007)
|
Inner Face
|
Outer Diameter
|
2.005 (- .005)
|
2.015 (± .005)
|
2.011 (±.003)
|
Body
|
Inner Diameter
|
1.995 (+ .005)
|
1.985 (± .005)
|
1.983 (±.005)
|
Base
|
Outer Diameter
|
2.54 (± 0.1)
|
2.54 (± 0.1)
|
2.54 (±.0035)
|
All of our processes were in control (i.e. the mean and variance were relatively stable), but unfortunately only one was capable (i.e. produces parts consistently within specification).
For the head: The average measured dimension was within the specification, but the variation was too wide and produced many parts out of specification. This was probably caused by inconsistent pressures and temperatures from the injection molding machine.
For the inner face: The average measured dimension was outside the specification, but the variation was quite small. This was caused by using the adding the steel shim, which dramatically reduced shrinkage. While the specification was not met, in reality all the parts fit nicely, so we would use a revised specification of 2.015 (± .005).
For the body diameter: The average measured dimension was outside the specification. This was caused by reworking the mold based on test parts, which didn’t shrink as much because the molds hadn’t warmed up. Again, while the specification was not met, in reality all the parts fit nicely, so we would use a revised specification of 1.985 (± .005).
For the base: The average measured dimension was within the specification, and the variation was well within the tolerance. This is because the tolerances were very generous, but even so, the sand base part was manufactured very consistently.
Summary of cost analysis + tables and plots
For the 2.008 Prototype run, we recorded the following costs:
Item
|
Quantity per yoyo
|
Variable cost
|
Quantity of fixed cost
|
Fixed cost
|
Cost per yoyo
|
Total cost
|
Resin for IM
|
.05 kg
|
$3.90 /kg
|
$0.20
|
$9.75
| ||
HIPS sheet
|
1 sheet
|
$0.25 /sheet
|
$0.25
|
$12.50
| ||
String
|
1 string
|
$0.09 /string
|
$0.09
|
$4.50
| ||
Spacer
|
1 spacer
|
$1.18 /spacer
|
$1.18
|
$59.00
| ||
Nut
|
2 nuts
|
$0.01 /nut
|
$0.02
|
$1.00
| ||
Setscrew
|
1 screws
|
$0.09 /screw
|
$0.09
|
$4.50
| ||
Shim
|
2 shims
|
$0.27 /shim
|
$0.54
|
$27.00
| ||
Yoyo magnets
|
1 magnet
|
$0.79 /magnet
|
$0.79
|
$39.50
| ||
Spray paint
|
0.1 cans
|
$10 /can
|
$1.00
|
$50.00
| ||
Molding: machine
|
0.07 hrs
|
$50 /hr
|
$3.50
|
$175.00
| ||
Molding: labor
|
0.07 hrs
|
$10 /hr
|
$0.70
|
$35.00
| ||
Thermoforming: machine
|
0.03 hrs
|
$25 /hr
|
$0.75
|
$37.50
| ||
Thermoforming: labor
|
0.03 hrs
|
$10 /hr
|
$0.30
|
$15.00
| ||
Painting: booth
|
0.06 hrs
|
$15 /hr
|
$0.90
|
$45.00
| ||
Painting: labor
|
0.06 hrs
|
$10 /hr
|
$0.60
|
$30.00
| ||
Assembly: labor
|
0.02 hrs
|
$10 /hr
|
$0.20
|
$10.00
| ||
Molds: material
|
6 blanks
|
$18.62 /blank
|
$2.23
|
$111.72
| ||
Molds: machine
|
15 hrs
|
$40 /hr
|
$12.00
|
$600.00
| ||
Molds: labor
|
15 hrs
|
$10 /hr
|
$3.00
|
$150.00
| ||
Mold magnets
|
3 magnets
|
$0.38 /magnet
|
$0.02
|
$1.14
| ||
Shoulder bolts
|
4 bolts
|
$0.77 /bolt
|
$0.06
|
$3.08
| ||
Thermoform tools material
|
.2 L
|
$200 /L
|
$0.80
|
$40.00
| ||
Thermoform tools: machine
|
10 hrs
|
$10 /hr
|
$2.00
|
$100.00
| ||
Stencil: material
|
.2 L
|
$200 /L
|
$0.80
|
$40.00
| ||
Stencil: machine
|
7 hrs
|
$10 /hr
|
$1.40
|
$70.00
| ||
Design
|
50 hrs
|
$10 /hr
|
$10.00
|
$500.00
| ||
Total
|
$43.42
|
$2,171.19
|
At this volume, the cost is dominated by the cost of machining molds and the cost of design work, but at higher volumes these costs would be spread over more parts. The third highest cost was the equipment cost of renting the injection molding machine, and that would be costly regardless of volume.

At different production volumes, other processes are less expensive. For less than 22 parts, it is cheaper to 3D print each part to minimize the fixed tooling costs. For more than about 4000 parts, it is cheaper to use mass-manufacturing with increased automation to minimize the variable costs of materials and overhead.
Reflection on 2.008 manufacturing process
We were fortunate that our yoyo was relatively straightforward to produce using 2.008 equipment. Originally we wanted to include the steel ring in the dome part, but found that was impossible, so we transitioned to a traditional insert molded shim. Also, we originally wanted to use pad printing for the decals, but 2.008 didn’t have such a machine, so we opted for a spray painting process that didn’t require a machine. Other than that, the design did not require significant changes to accommodate 2.008 equipment.

If we were to mass manufacture these yoyos, we would focus mainly on making the decals faster and more consistent. To do this, we would use a pad printing process like the one above, which is highly automated and produces very sharp lines. We would also tweak the design to make the assembly of the yoyos more consistent, e.g. adding locating features in the dome so that the inner face is always perfectly level. Finally, we would use multi cavity molds and other efficiency improvements to reduce the unit cost of the yoyos.